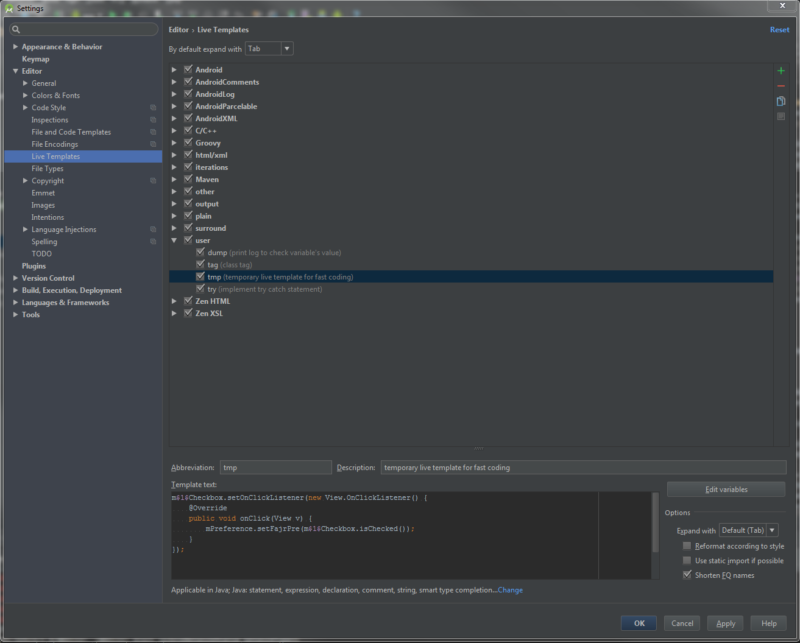
Android Studio, IDE offered by JetBrain, helps your day if you know how to use it more and more. Continuing from live template introduction, I introduce some examples of custom live templates which I found it convenient to use during my Android app development. To add your custom live template go to [File] → [Settings] → Select [Editor] category, [Leve Templates] → On the right side, you can add your custom template to “user” category. Click + button → [1. Live Templates].
1. dump – check variables value for debugging

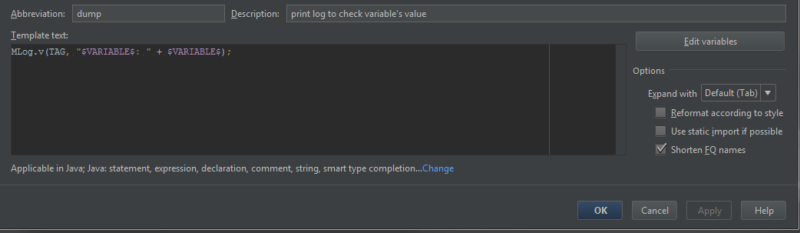
- Abbreviation: dump
- Description: print log to check variable’s value
- Template text:
Log.v(TAG, "$VARIABLE$: " + $VARIABLE$);
- Set applicable contexts to “Java” language.
Template variables
It is useful when you want to check variable’s value for debugging. Here $VARIABLE$ (You can use other than the name “VARIABLE” as well, just need to pinch with $, like $<variable_name>$.) can be used a variable which user specify after extracting this template.
Type “dump” and then press [tab], you can write both string of variable and real variable at the same time.
2. tag – class TAG definition to be used for logcat log.
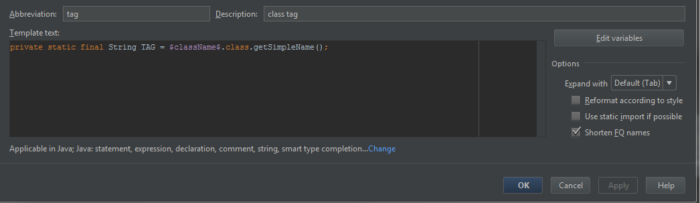
- Abbreviation: tag
- Description: Class tag definition declaration
- Template text:
private static final String TAG = $className$.class.getSimpleName();
- Set applicable contexts to “Java” language.
Predefined functions in live template variables
Also specify $className$ by click [Edit variables], and choose Expression as className().
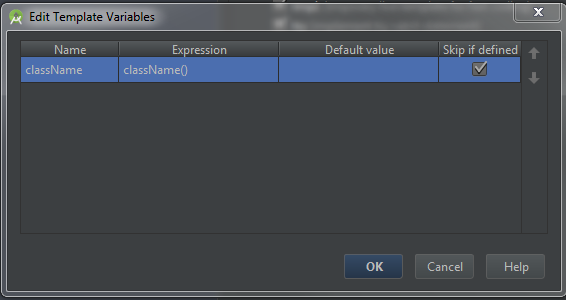
By choosing the Expression variable $className$ will be expanded automatically, in this case with class name.
For the Android app development, we use logcat as a debug printing system, and we always need to specify “TAG” to use logcat. Therefore, this declaration can be used quite often.
Type “tag” and then press [tab], it will expand a TAG declaration according to the current Class name.
3. try – catch structure writing

- Abbreviation: try
- Description: try – catch statement
- Template text:
try {
    $END$
} catch (Exception e) {
    MLog.e(TAG, e.toString());
}
- Set applicable contexts to “Java” language.
It can be used as Java common template, no need to explain this is exactly the “template” we often write.
Predefined live template variables
Here, $END$ has a special meaning. The 2 variable, $END$ and $SELECTION$, are called predefined live template variables. These are treated as special and cannot be used for user-define template variables.
$END$indicates the position of the cursor after the template is expanded.
$SELECTION$is used in surround templates and stands for the code fragment to be wrapped. After the template is expanded, the selected text is wrapped as specified in the template.Cite from IntelliJ IDEA 14.1.0 Help
For the catch statement, it is better to catch specific Exception instead of getting general Exception as shown here. But when you want to write code faster, or personal project, it might be a good choice to just expand default try – catch statement.
Using default value in variable
You can set default value of variable by setting it to “expression” column. For example, if you want to set default_value, you need to write “default_value” in expression column, and press enter. Note that you need to surround the value with double quotation “”.
Note that Reference