* This post is written in 2015 Oct, the design might change in the future.
Contents
Customizing WordPress theme “Graphy”
– Optimize blog design for technical blog –
It has been 4 month since I started this blog on June. I was just focusing on showing the main contents for the starting point. But now published posts was increased so that it is possible to show users “Related post” or “Popular post”.
This blog is powered by WordPress, by using free theme “Graphy“. It is really simple and beautiful design, makes us feel “reading” typography. I feel it is especially suitable for writing “novel” type posts so that user can concentrate on reading text. However, I prefer to change some styles to optimize it for my blog category “technology posting”. Here is a memo for these changing points and their reasons (Of course, these are just my personal opinion & preference).
Child theme
What is the best way to code your modification of original theme? If original theme codes are modified, these modification will disappear when we update this theme. To cope with these problems, WordPress supports a nice functionality called Child themes, so that user can implement their own customize in a separated module.
It works very similar to extending parent class in object oriented programming. So that you only need to overwrite the difference from parent theme. Let’s get a example by making graphy’s child theme!
At least you need to make 1 folder and 2 files.
1. Make directory named “graphy-child” at /wp-content/themes/ where all themes are stored. We can implement customized styles and codes in this folder.
2. Make style.css file inside graphy-child, must include following meta information.
/*
 Theme Name:   Graphy Child
 Theme URI:    https://wordpress.org/themes/graphy/
 Description:  Graphy Child Theme
 Author:       corochann
 Author URI:   http://corochann.com
 Template:     graphy
 Version:      1.0.0
 License:      GNU General Public License v2.0
 License URI:  http://www.gnu.org/licenses/gpl-2.0.html
 Tags:         white, light, white, one-column, two-columns, right-sidebar, responsive-layout, custom-background, custom-colors, custom-header, custom-menu, editor-style, featured-images, microformats, post-formats, sticky-post, theme-options, threaded-comments, translation-ready
 Text Domain:  graphy-child
*/
Templateattribute is important, we need to specify parent themes folder name.Theme Namewill appear on your Admin panel’s “Manage Themes” page.
3. Make functions.php file inside graphy-child, write following
<?php
add_action( 'wp_enqueue_scripts', 'theme_enqueue_styles' );
function theme_enqueue_styles() {
    wp_enqueue_style( 'parent-style', get_template_directory_uri() . '/style.css' );
}
Note that child theme’s functions.php does not overwrite parent’s functions.php, instead, it is loaded right before the parent’s functions.php. So we don’t need to copy paste parent’s file, but just need to implement our own additional functions.
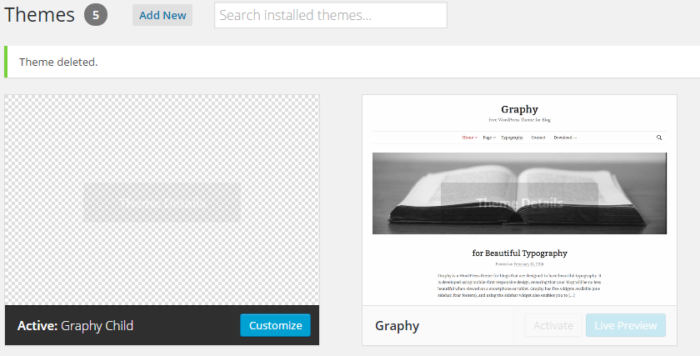
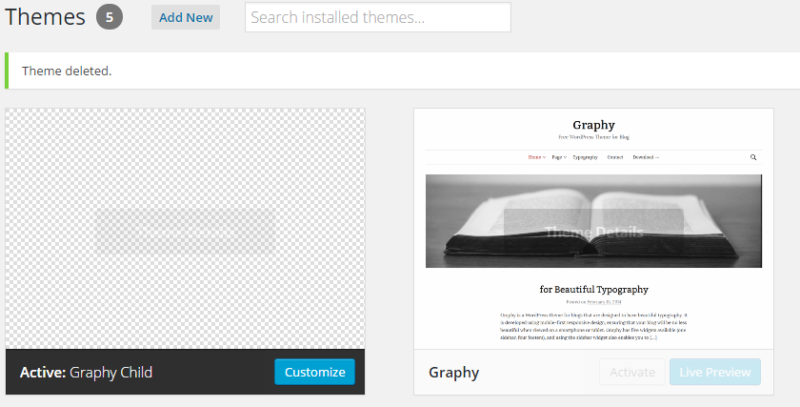
Ok, minimum implementation is done. We can now choose “graphy-child” theme from Dashboard → Appearance → Themes.

Now we can proceed to customize the theme just by modifying child theme, especially style.css.
A. Single column? Two column? Three column?
To start considering a layout of the web site, the base layout should be determined. WordPress theme can be categorized either of below.
- Single column
It does show main contents in the center, while it is not good at showing other sub-contents/links.
Suitable for those who want user to concentrate on reading main contents. - Two column
It can show main contents in primary row as well as sub-contents in secondary row.
Suitable if you want to include internal-links while maintaining simple design. - Three column
There are two side bars among center main row. So you can put many sub-contents (profile, archives, related posts, popular posts, recent posts, advertisements, social icon, interlinkage etc…).
Suitable for contents portal page, so that you want to show many attractive posts.
The support for these layout depends on the theme. Graphy supports single column and two column layout. Graphy is more focusing on simple design, showing main contents.
I was using single column until today to focus on showing the main contents. But I want to navigate user to other contents as well now, so I have changed layout to two column to show “Related post” and “Popular post”.
WordPress Popular Posts plug in – Showing popular post
“Related post” can be displayed from default customization, but “popular post” is not possible since WordPress don’t save the number of views by default. However, we can show popular posts very easily by installing plug in. Famous plug in is WordPress Popular Posts and WP-PostViews. I adopted WordPress Popular Posts, you can seepopular posts ranking as well as number of views at the right-top corner.
B. Layout width change
Source code is frequently written in this blog, and it is nice to show one line programming in one line. Therefore, I wanted to keep main contents area wide enough. To prevent the side effect of layout change to two column, I increased the width attribute of main layout.
C. Make texts more packed – change line height
I noticed there is a big spacing beween each line with Graphy’s original design. It emphasizes background white space, this is indeed one factor that contributes to make Graphy beautiful. It is good for reading novels, though it is not suitable for technical contents. When we study something, it is usually difiicult to understand the contents just by reading once. We often need to go back and forth while reading. Therefore, I prefer text contents to be packed so that we can refer previous sentence without scrolling so much. Textbooks, technical books, technical papers are mostly packed, aren’t they?
To make text more packed I did
- make text size small.
- decrease margin.
- decrease line spacing.
Implementation: Change CSS style font-size & line-height
Modify style.css. You can find at the wordpress Dashboard → Appearance → Editor → Styles (bottom-right) > Stylesheet > style.css
font-size attribute defines the spacing/margin between lines, change it for your preference. I decreased the header’s font size in this blog.
margin-bottom, margin-top attributes are used to dtermine the spacing/margin between each blocks. I decreased the “Asap”, “Verdana”, “Arial”, and “sans-serif” font for this blog.
line-height attribute defines the spacing/margin between lines, change it for your preference. I decreased the values from original.
D. Change style of code attribute
code and pre attributes are important to explain about methods, class, or source code etc. I put color on code HTML tag attribute.
Reference
