How to use Live Templates
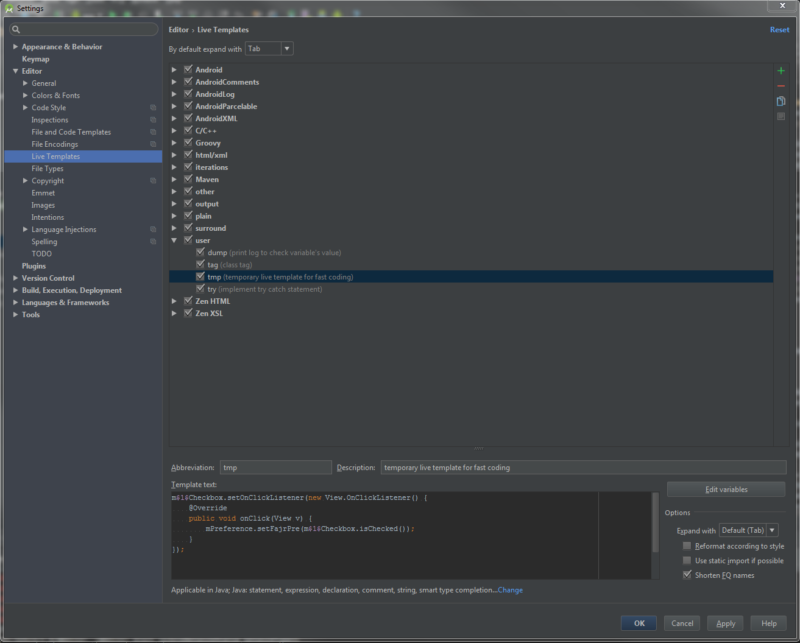
Go to [File] → [Setting] → [Live Templates], already registered live templates are shown. We can check the Abbreviation, Description and Template text here.
During the coding, typing “Abbreviation”(shorcut command) followed by pressing [Tab], “Template text” will be expanded.
Live templates are very useful to eliminate to write the code which we often use. For example, Abbreviation “fbc” can be used for coding findViewById method (You definitely often use it when you want a reference to UI, right?). Type “fbc” and press Tab, it will automatically expand
() findViewById(R.id.);
and the cursor is selected to inside the first (), so that you can start typing class name to cast. Also, you don’t need to move cursor to fill in resource id in the argument after finish writing class name, but just press [Enter], then the cursor automatically jumps to the resource id argument. So convenient :).
How to register your own customized Live Templates
Go to [File] → [Setting] → [Live Templates], you can use “user” category to register your own live templates. Press green [+] mark → [1. Live Templates] at the top-right to add new live templates.
- Abbreviation – the shortcut name to call Template.
- Description (option) – description for this live template, not compulsory.
- Template text – the body of template text.
After fill in 3 fields, you also need to specify the context, programming language, to call this live template. You could see “No applicable contexts yet. Define” at the bottom, Click [Define] to set context (Just tick “JAVA” language if you are developing Android app, and want to use live template at the java programming coding).

Now you can use your own live template as well. See Android Studio Live Templates Usage Examples for concrete useful examples!